
NAV unit
The sensor head: accelerometer, gyro, magnetometer, GPS and flow sensor. Runs the
attitude filter and the position estimate, logs the dive, and serves a web UI at
tern.local for waypoints, WiFi and calibration.
Tern · project
Dead reckoning that mounts on your scooter — bearing and range to named waypoints, and an estimated position that keeps up with you.
It's been in the water, perhaps repeatedly, iterating towards a better answer.
What it is
If your current process is reading a magnetic compass and tracking time and distance in your head, DPV-Nav will save you a lot of effort and produce a dramatically better result. It's not perfect, but (if well-calibrated) will have much better accuracy than whatever you're doing now.
What it isn't
GPS doesn't work underwater, and I haven't built magic that violates the laws of physics. Precise subsea positioning is a lovely engineering problem with several excellent solutions — and precision scales almost linearly with how much you're willing to spend. At this price point, expect to achieve results comparable to the commercial products, except with the pride that you built it yourself.
How it works
Take a known starting position. Add heading and speed, over and over, a hundred times a second. Each step turns the last estimated position into a new one.
On the surface, the external GPS antenna nails down a starting point. Everything downstream is measured from this point, so it's worth waiting to get a solid fix.
A tilt-compensated AHRS fuses gyro, accelerometer and magnetometer. The calibration process takes into account hard- and soft-iron factors to produce a real time digital heading.
A flow sensor counts water actually moving past the hull, so if you're carrying extra gear and moving more slowly, it takes that into account instead of messing up the math. It does not take into account current (yet), so if the water is moving over the ground, your position will drift.
The display shows bearing and distance to the waypoint you selected. Arriving at any known point snaps position and clears the error you've accumulated so far.
Calibration is the great challenge. DPV-Nav walks you through it on-screen — baseline and mounted magnetic passes, then a 12-point heading correction, all with feedback along the way so it doesn't feel like black magic. Diligent calibration is the difference between 10% and 3%. I've gone to a lot of effort to make this as painless as possible. It's still pretty involved, but users now get consistent results, which is a good start. This is one area I'm excited to improve, if anyone has ideas.
Accuracy
~10%
of distance since your last fix
If you've calibrated well, this is a good thumbrule number to plan with. Run 500 m from your fix, assume you're within 50 m.
2–3%
achievable in practice
Seen on real runs with careful calibration and known courses. Earn it, don't assume it.
12
point heading correction
A final pass that trims the last few degrees of residual heading error out of the system.
The longer it's been since you actually knew where you were, the further off you may be. When you arrive, you're probably closer than you would be if you'd just guessed. But in poor visibility, close is rarely the same as close enough. Plan on dropping a marker and running a reel to conduct a spiral search, until I can build out the DPV-mounted sonar.
The system
The sensor head: accelerometer, gyro, magnetometer, GPS and flow sensor. Runs the
attitude filter and the position estimate, logs the dive, and serves a web UI at
tern.local for waypoints, WiFi and calibration.
A sunlight-legible 320×240 TFT with two-button control, built by a diver who wanted something simple and intuitive. Bearing, range, heading and speed at a glance, with a menu you can work in gloves.
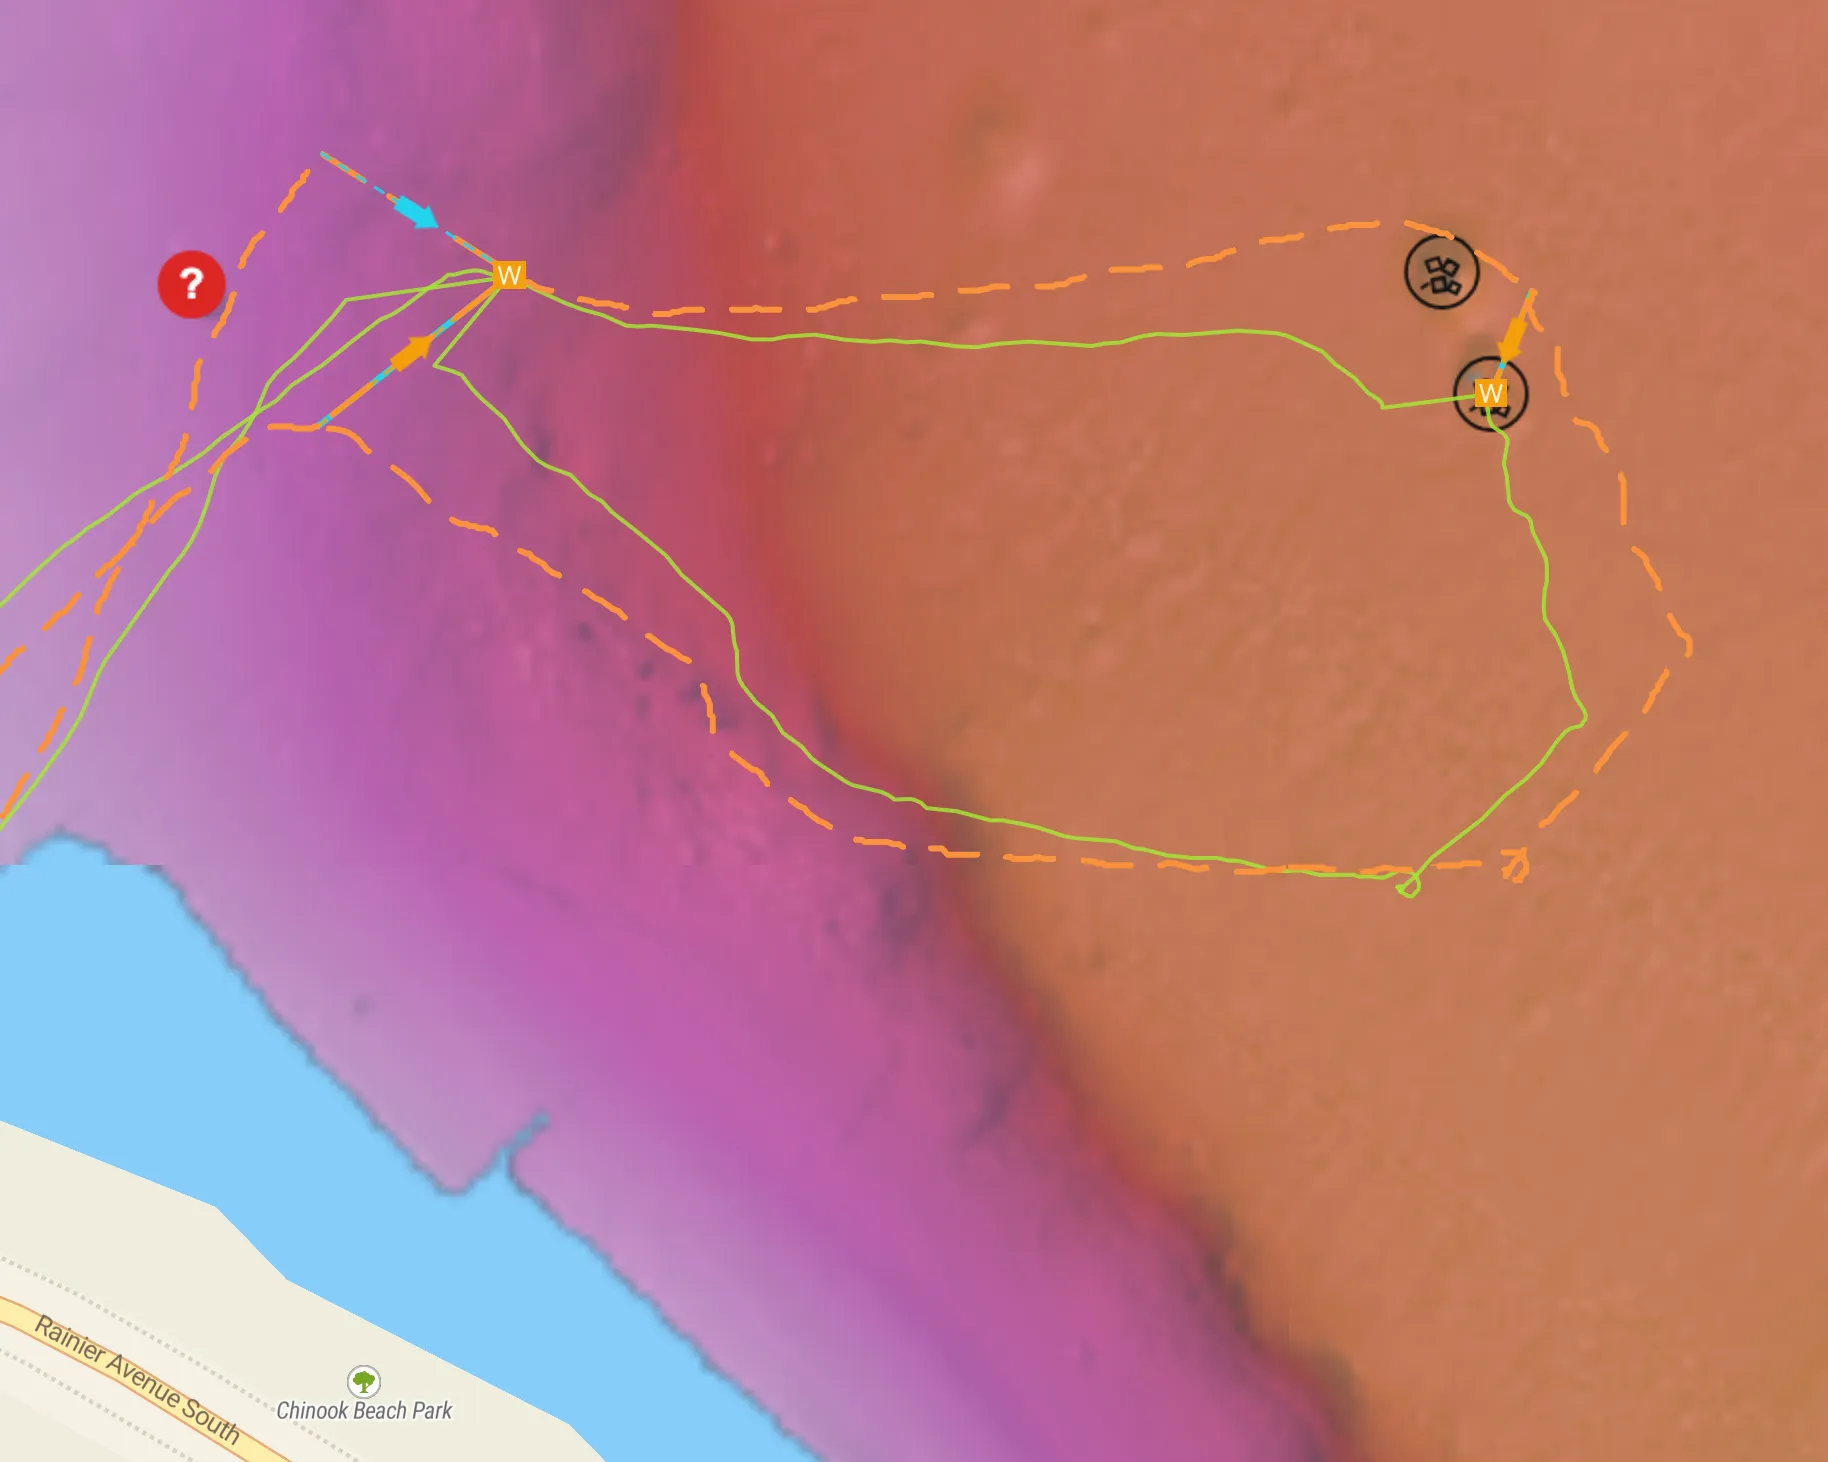
The companion web app. Layered nautical charts for planning the dive, then reviewing the track you actually covered against known positions. Launch Dive Map →
| Heading | Tilt-compensated AHRS fusing gyro, accelerometer and magnetometer. Hard- and soft-iron correction from a two-pass calibration, then a 12-point heading correction. |
|---|---|
| Speed | Flow sensor measuring water actually moving past the hull, so extra gear and a slower run are accounted for rather than assumed away. |
| Position fix | Onboard GPS with a raisable external antenna. Everything downstream is measured from this point. |
| Depth | Pressure sensor, used for logging and for sanity-checking position against known contours. |
| Processing | A pair of ESP32s — NAV runs the filter and the position estimate, DISPLAY drives the screen and the menu. |
| Display | 320×240 sunlight-legible TFT, two-button control, workable in gloves. |
| Interfaces | Web UI at tern.local for waypoints, WiFi and calibration. Dive logs written to onboard storage. |
| Housing | Off-the-shelf GoPro and Blue Robotics housings both work. Custom acetal and acrylic housings are in progress and offer real advantages if you can mill simple shapes. |
Roadmap
Directional, not promised. The further right, the more likely it changes.
Actively being built or tested
Committed, not started
Directional, may change
Open problem. Piezo push-button depth qualification. It needs physical pressure testing before I will claim it works at depth.
Source & docs
DPV-Nav is built from readily-available parts wherever possible, to keep it within reach of most technical divers. Some of it is genuinely technical: you'll manufacture and solder custom PCBs, flash firmware to a pair of ESP32s, and print parts. You may not have a 3D printer, but chances are excellent you know someone who does. The housings are an area of compromise: off-the-shelf housings from GoPro and Blue Robotics work, but they're either expensive or challenging to work with. If you have access to a CNC mill — or are comfortable milling simple shapes by hand on a drill press — Delrin housings offer some significant advantages. Everything else is available for purchase on the open internet.
Licensing
PolyForm Noncommercial (firmware) · CC BY-NC-SA (docs & hardware)
Source-available, not OSI-open: free for divers and tinkerers, not for commercial resale. The full position — including the labour-for-a-friend carve-out and the Tern trademark note — is still being written up.
DPV-Nav gives you an estimated position. It does not execute your dive plan, and it does not replace training, a compass, or your own judgement. Sanity-check it constantly against depth contours and time: if you're headed to a wreck at 76 ft and you're at 120 ft six minutes in, you've erred somewhere. If the screen says keep going and you're at 250 ft with no wreck in sight, stop.
Technical diving is dangerous. This is a hobbyist, DIY instrument with no warranty and no certification of any kind. Read the full safety position →